

How To Install Jnlp As Local Service
In our previous articles, we discussed how to Install and Configure Jenkins and how to Configure Jenkins Master-Slave setup on a Linux machine.
I received a few requests to share the arroyo for Configuring Jenkins Slave on Windows Machine.
So here I am with a new guide on how to Configure a Jenkins Slave on Windows Motorcar and Install it as a Windows Service .

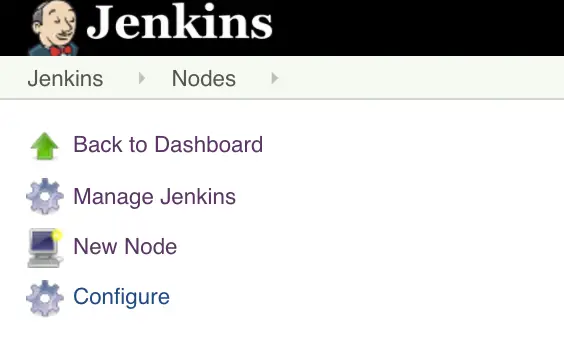
i- Login to Jenkins and click on Manage Jenkins

ii- To create a new Slave – Click on New Node
3- Name the node
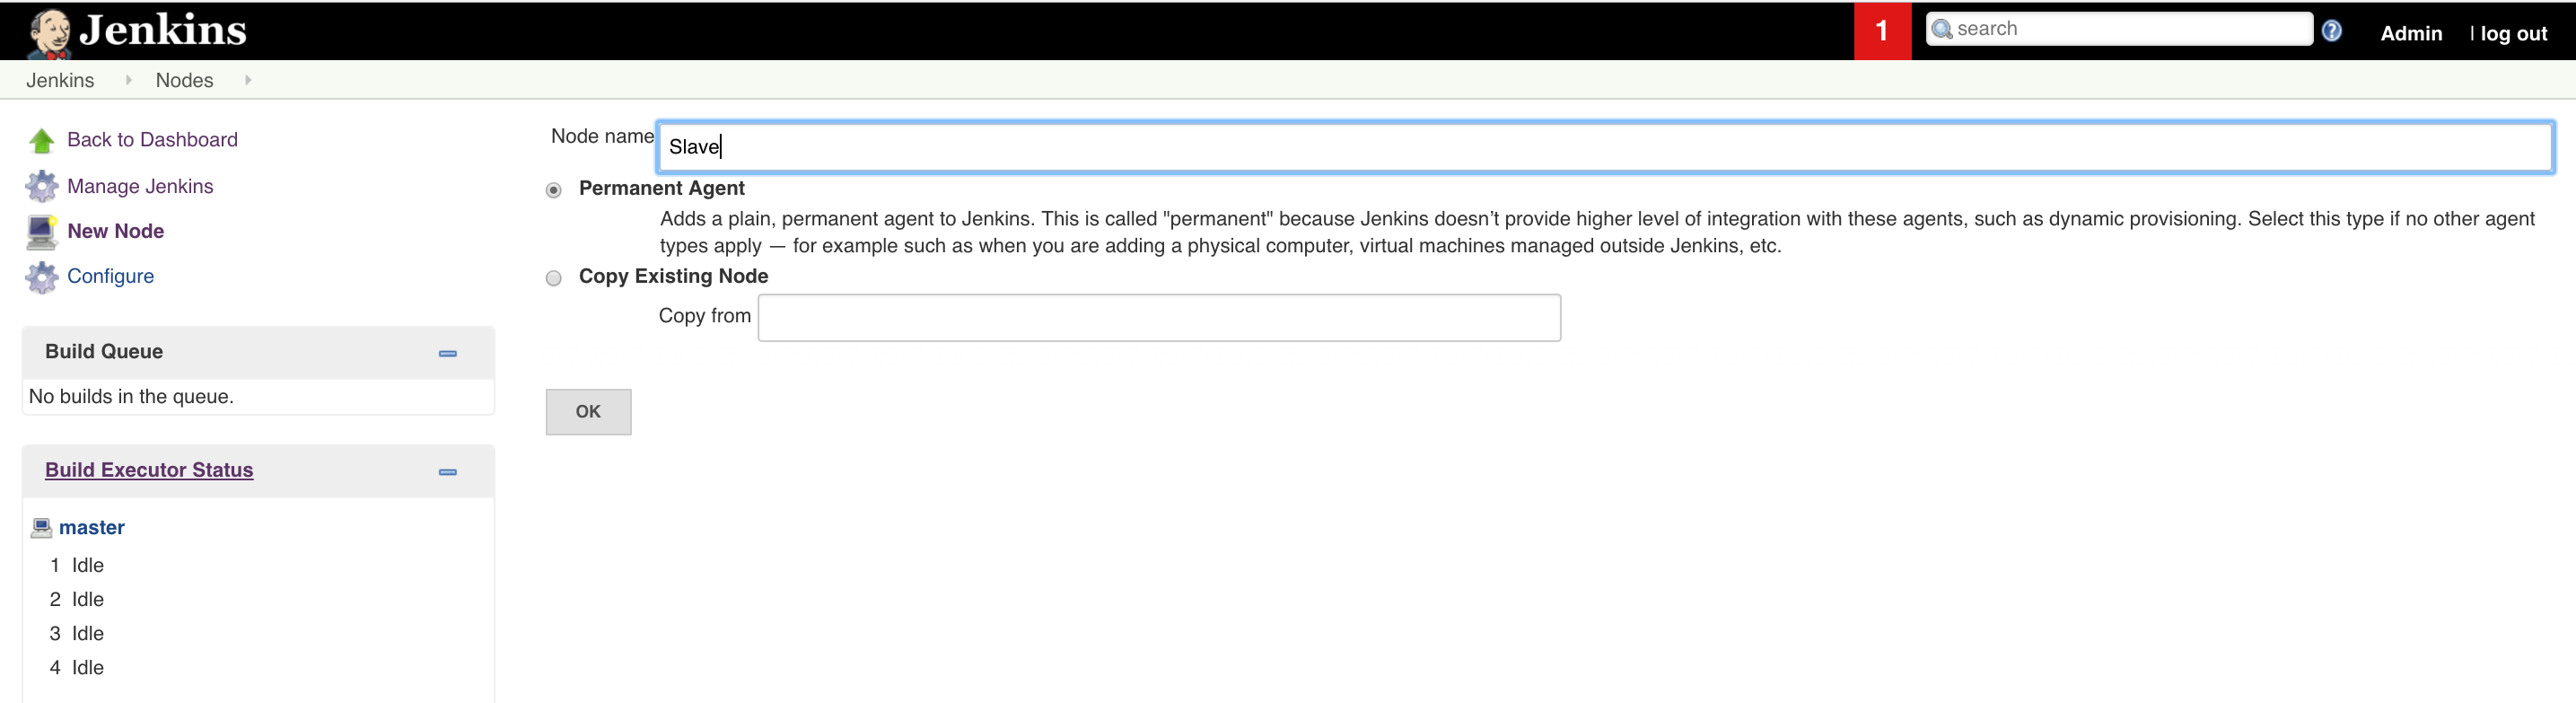
4- Fill in all the required details.
Delight refer to our master-slave configuration article to know all the details of parameters present on the node configuration page
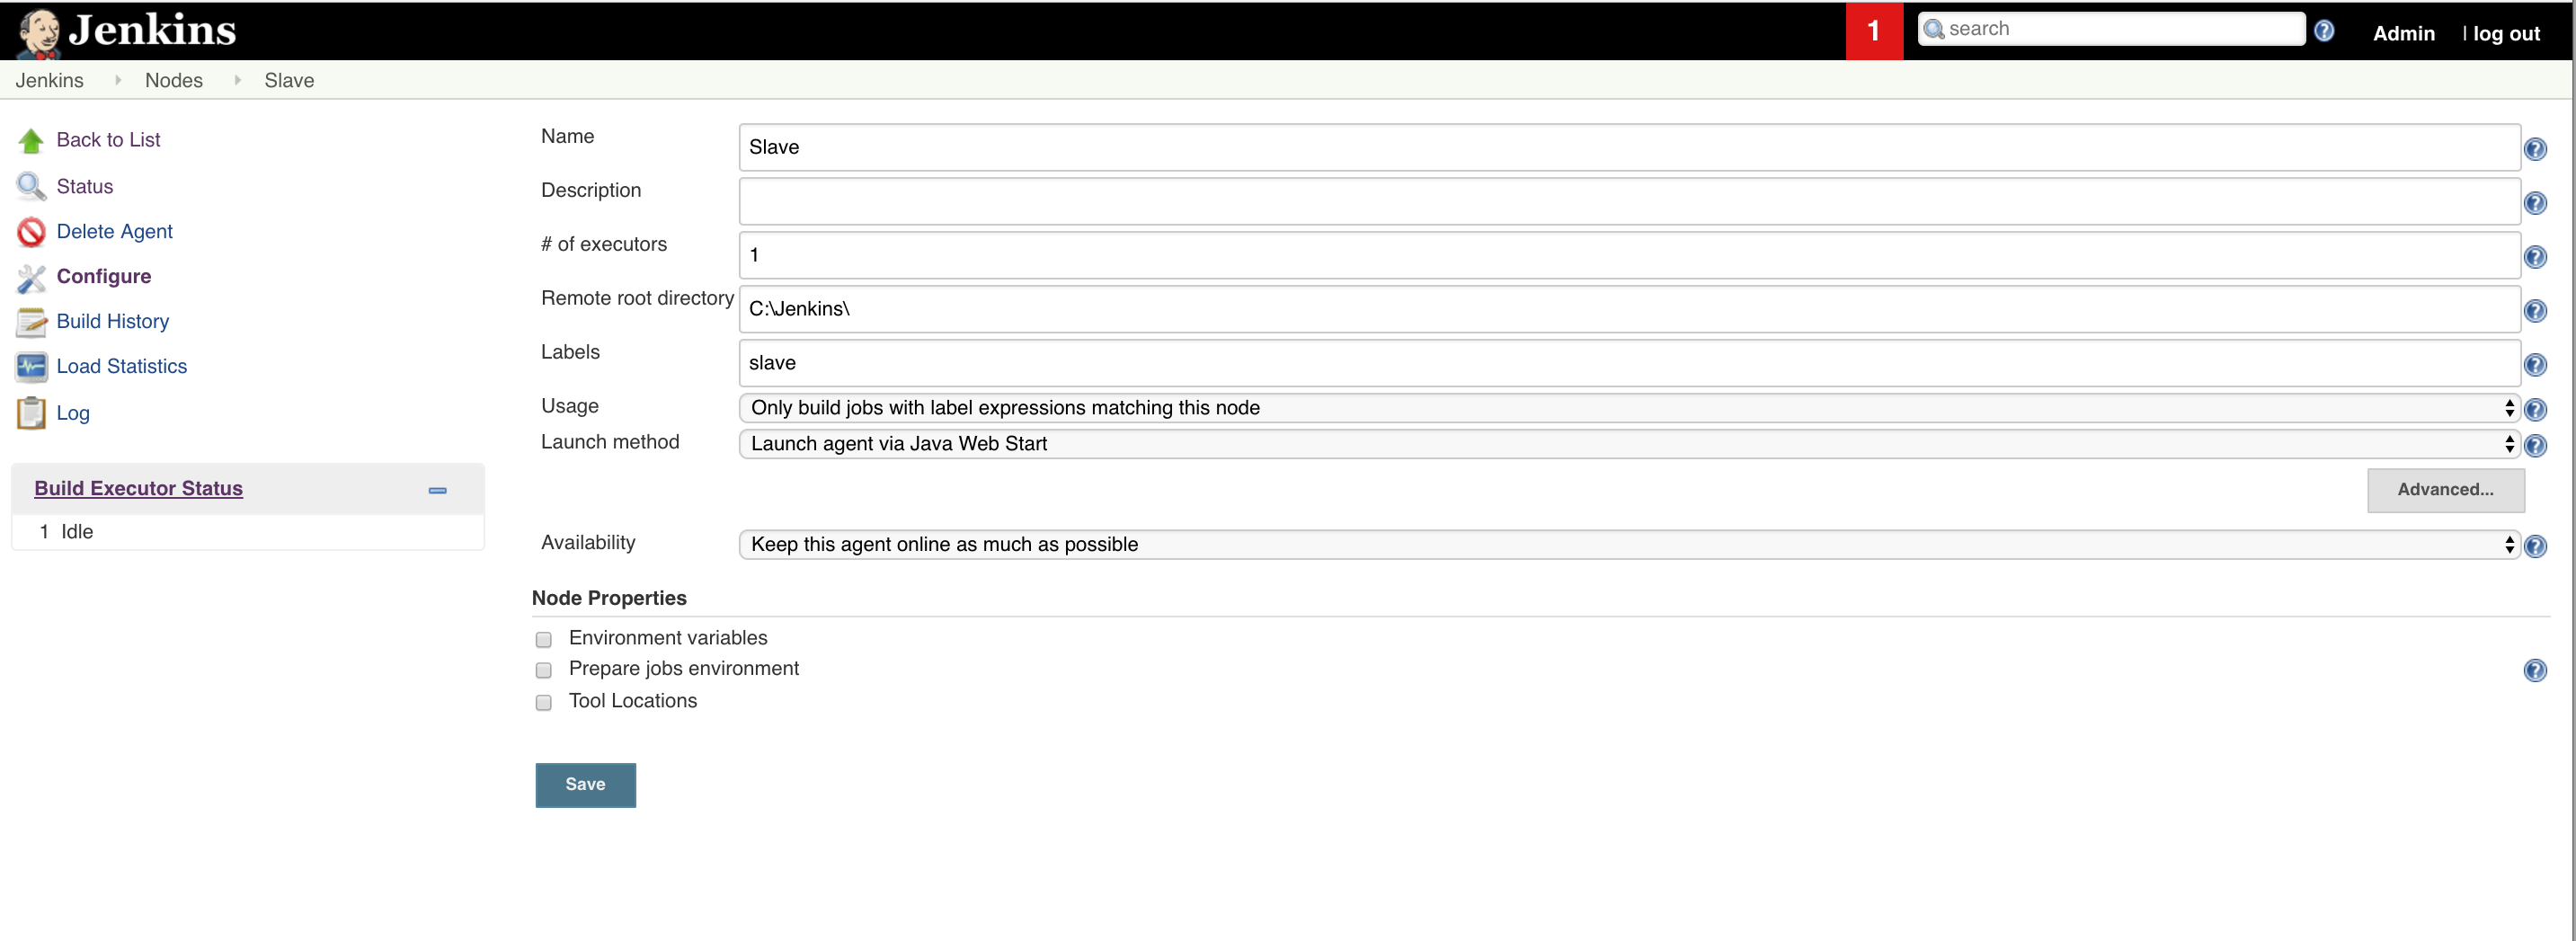
v- Cull the advisable Launch method

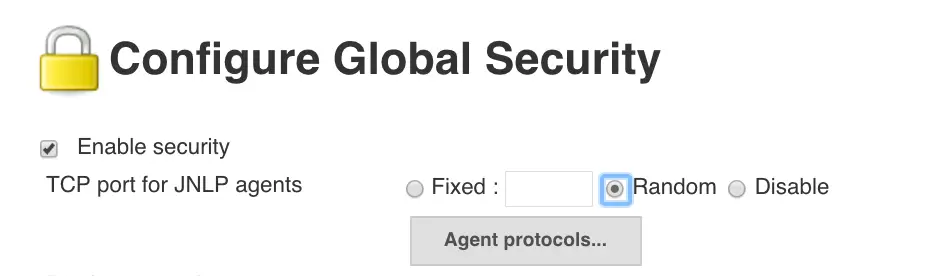
Beneath mentioned steps to configure and enable security are essential.
If you miss this, you might not be able to start/configure the Jenkins slave considering, past default, Jenkins disabled the TCP Port for JNLP agents and due to this, Agent is not able to reach principal.
6 – Again, click onManage Jenkins
vii- Then click on Configure Global Security

8- Find out the Enable Security option

ix- And then modify the
x- One time the new node is created, it will be in Offline mode

11- Now click on the Slave agent

12- You lot will encounter Amanuensis is not able to reach the master Jenkins and the new jnlp jar tin exist downloaded from Jenkins
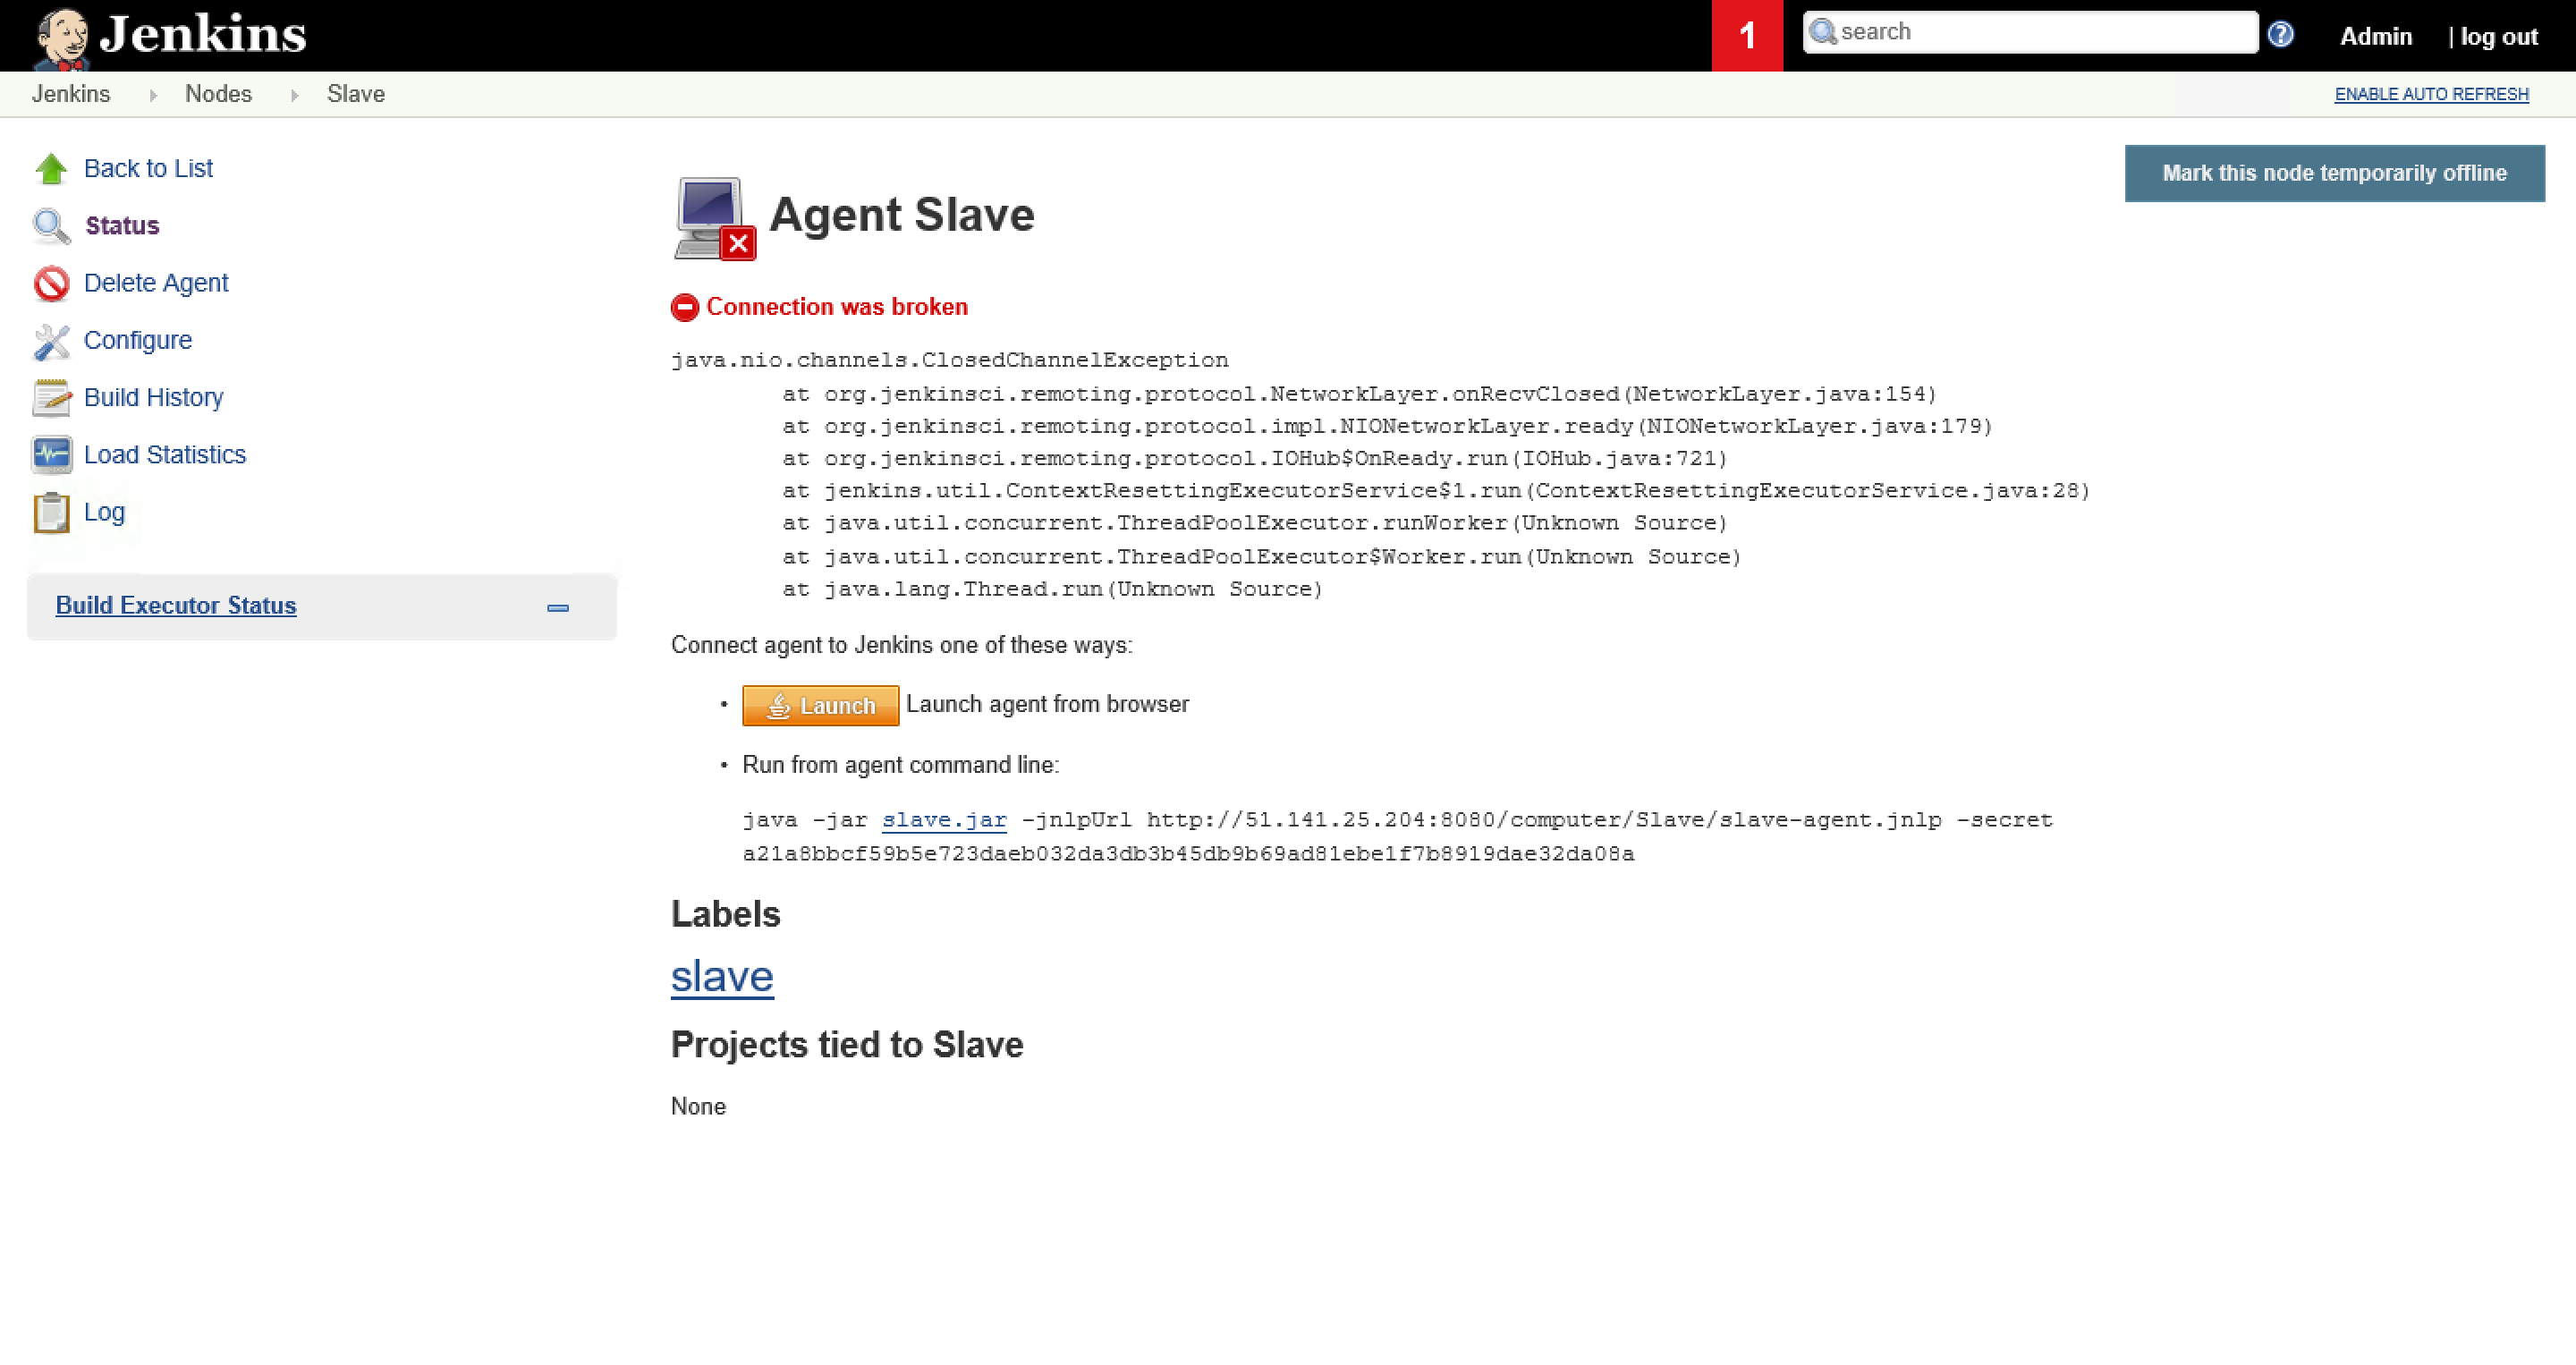
13- Open the Jenkins URL from Amanuensis Windows Machine and navigate to the Slave Configuration page
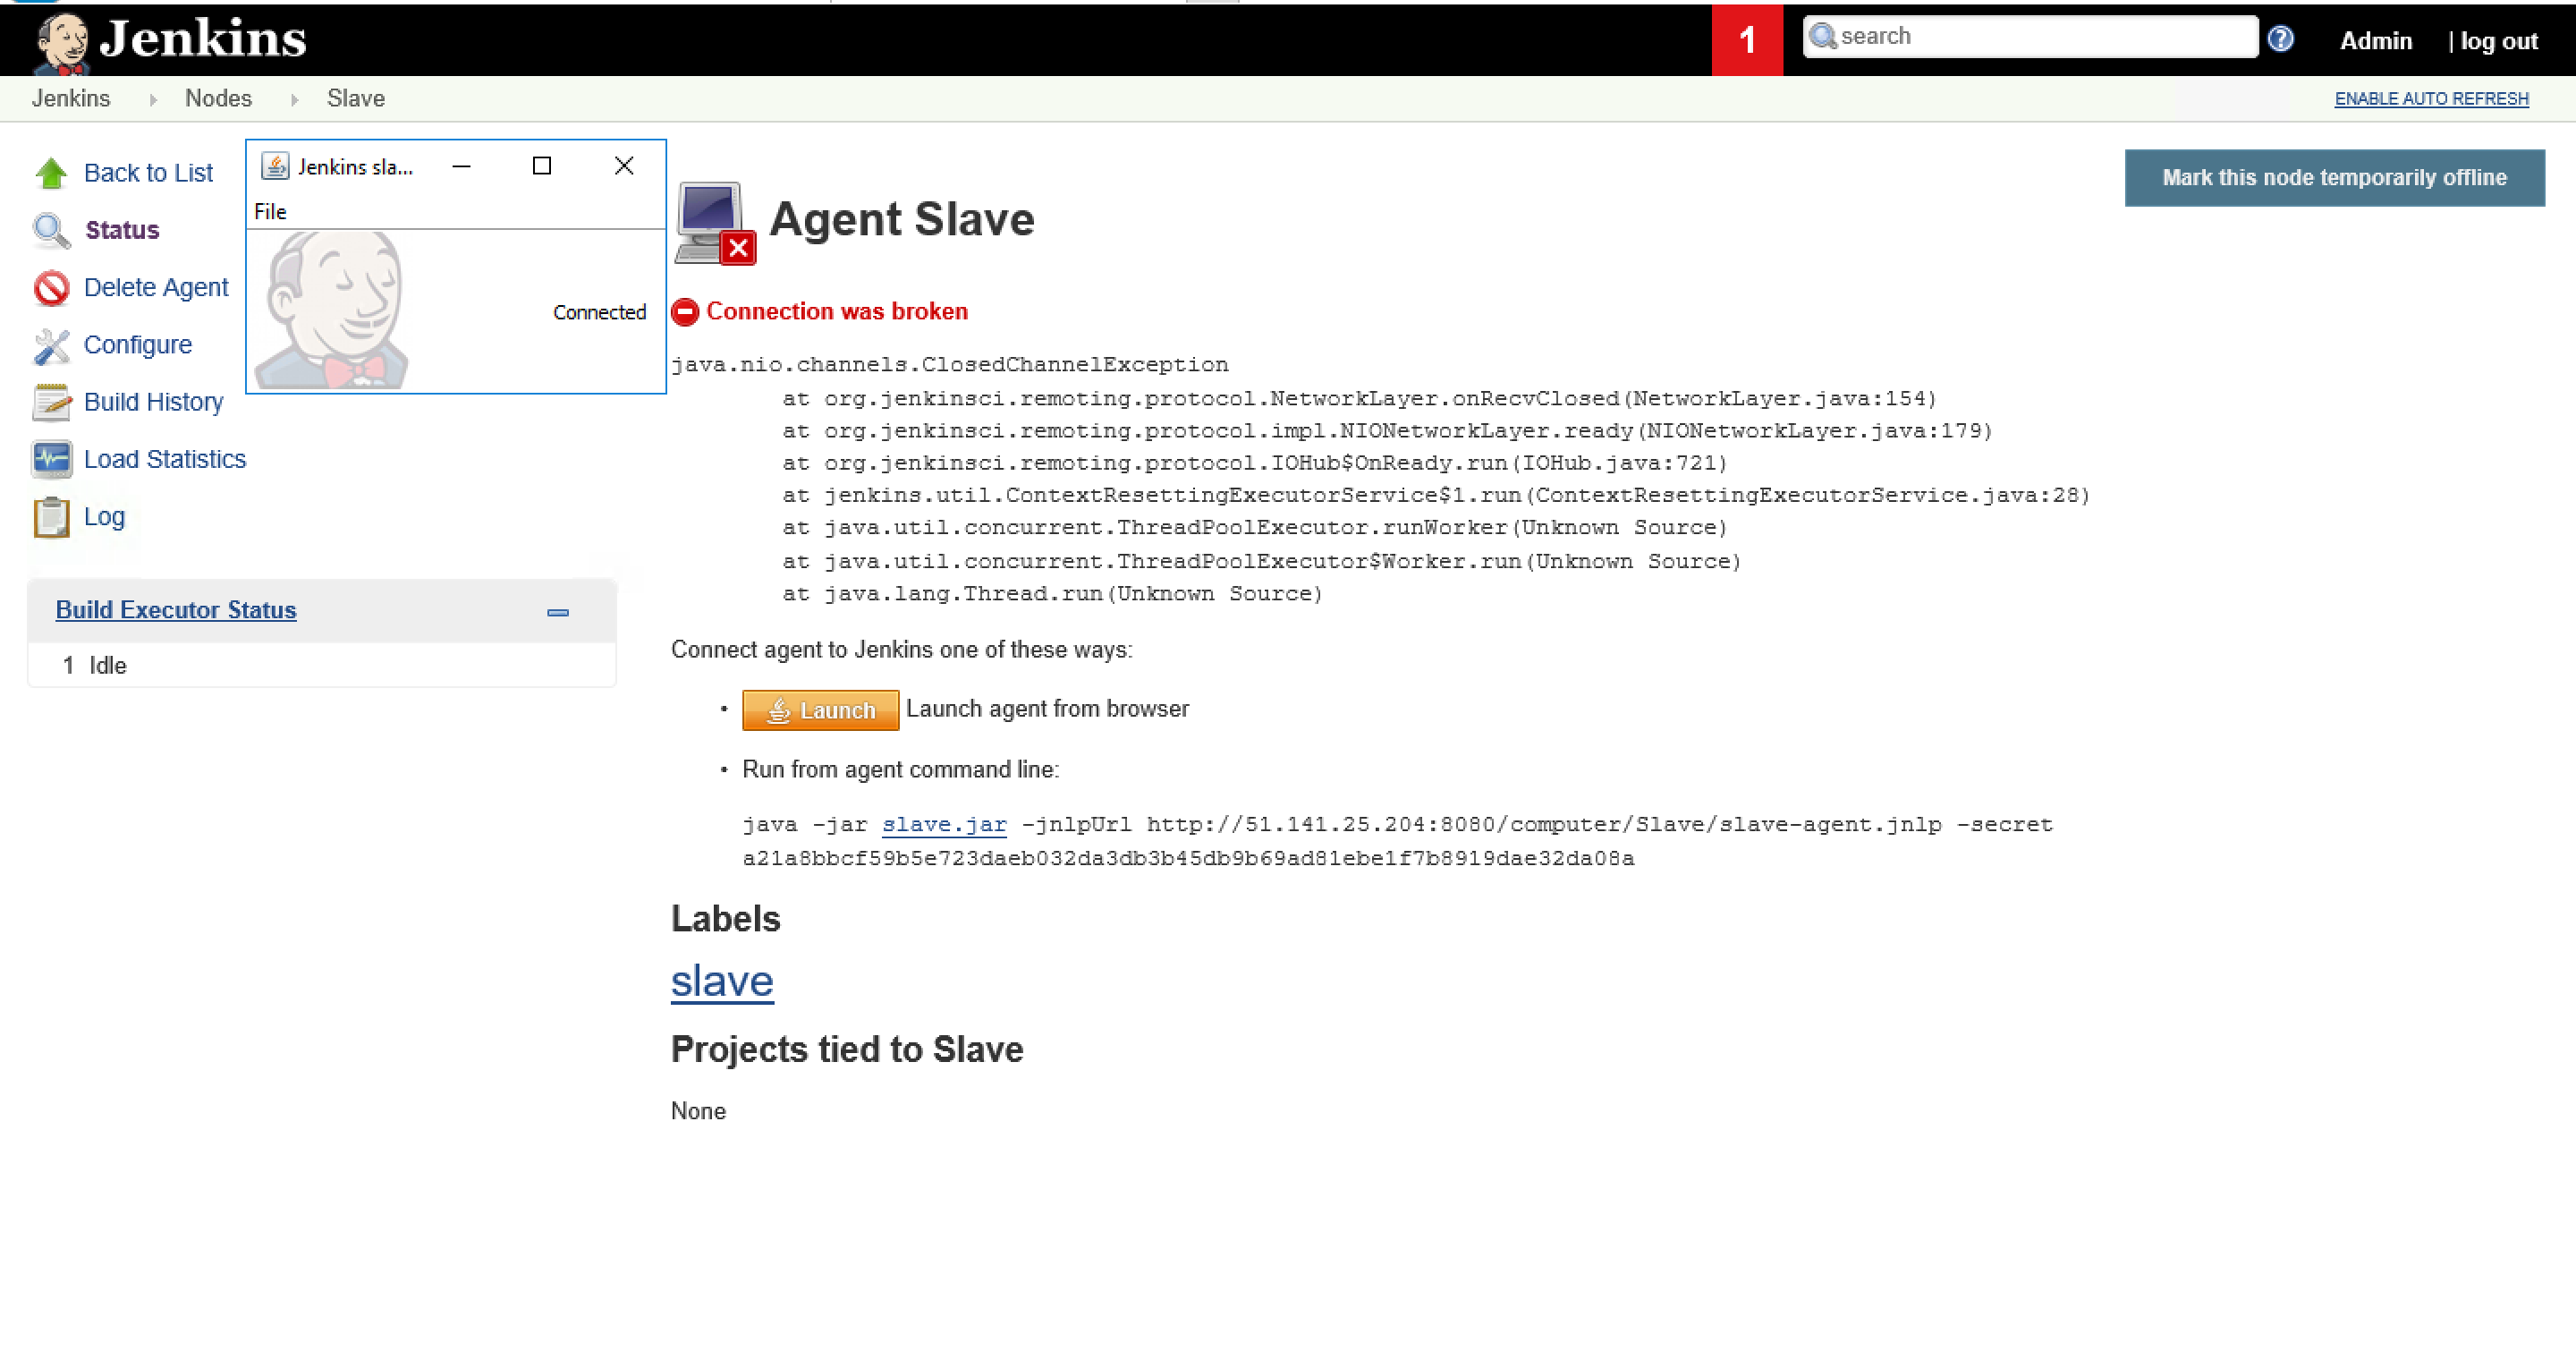
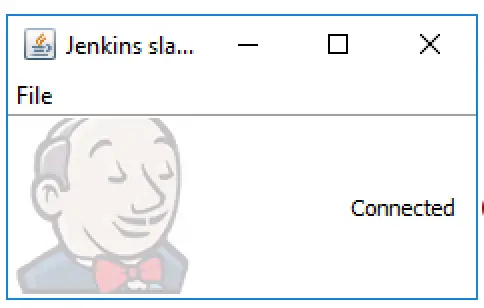
Once done, click on Launch Button – You volition come across a new popular-upwardly that confirms the Jenkins Primary-Slave Connection.
Let'south now create and install this as a Windows service to avert the hassle of going to URL and performing the same operation every time.
In one case you create the service, it volition e'er be up & running, and then you lot can manage information technology through Windows Services
14- Don't close the popular-upward; instead just click on File Menu – If it's not visible, just maximise the popular-up window
xv- Now, click on the Install as a service selection
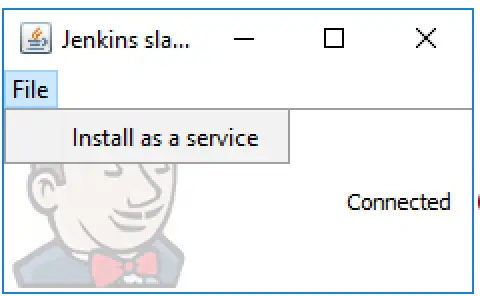
xvi- Information technology will prompt you for the confirmation
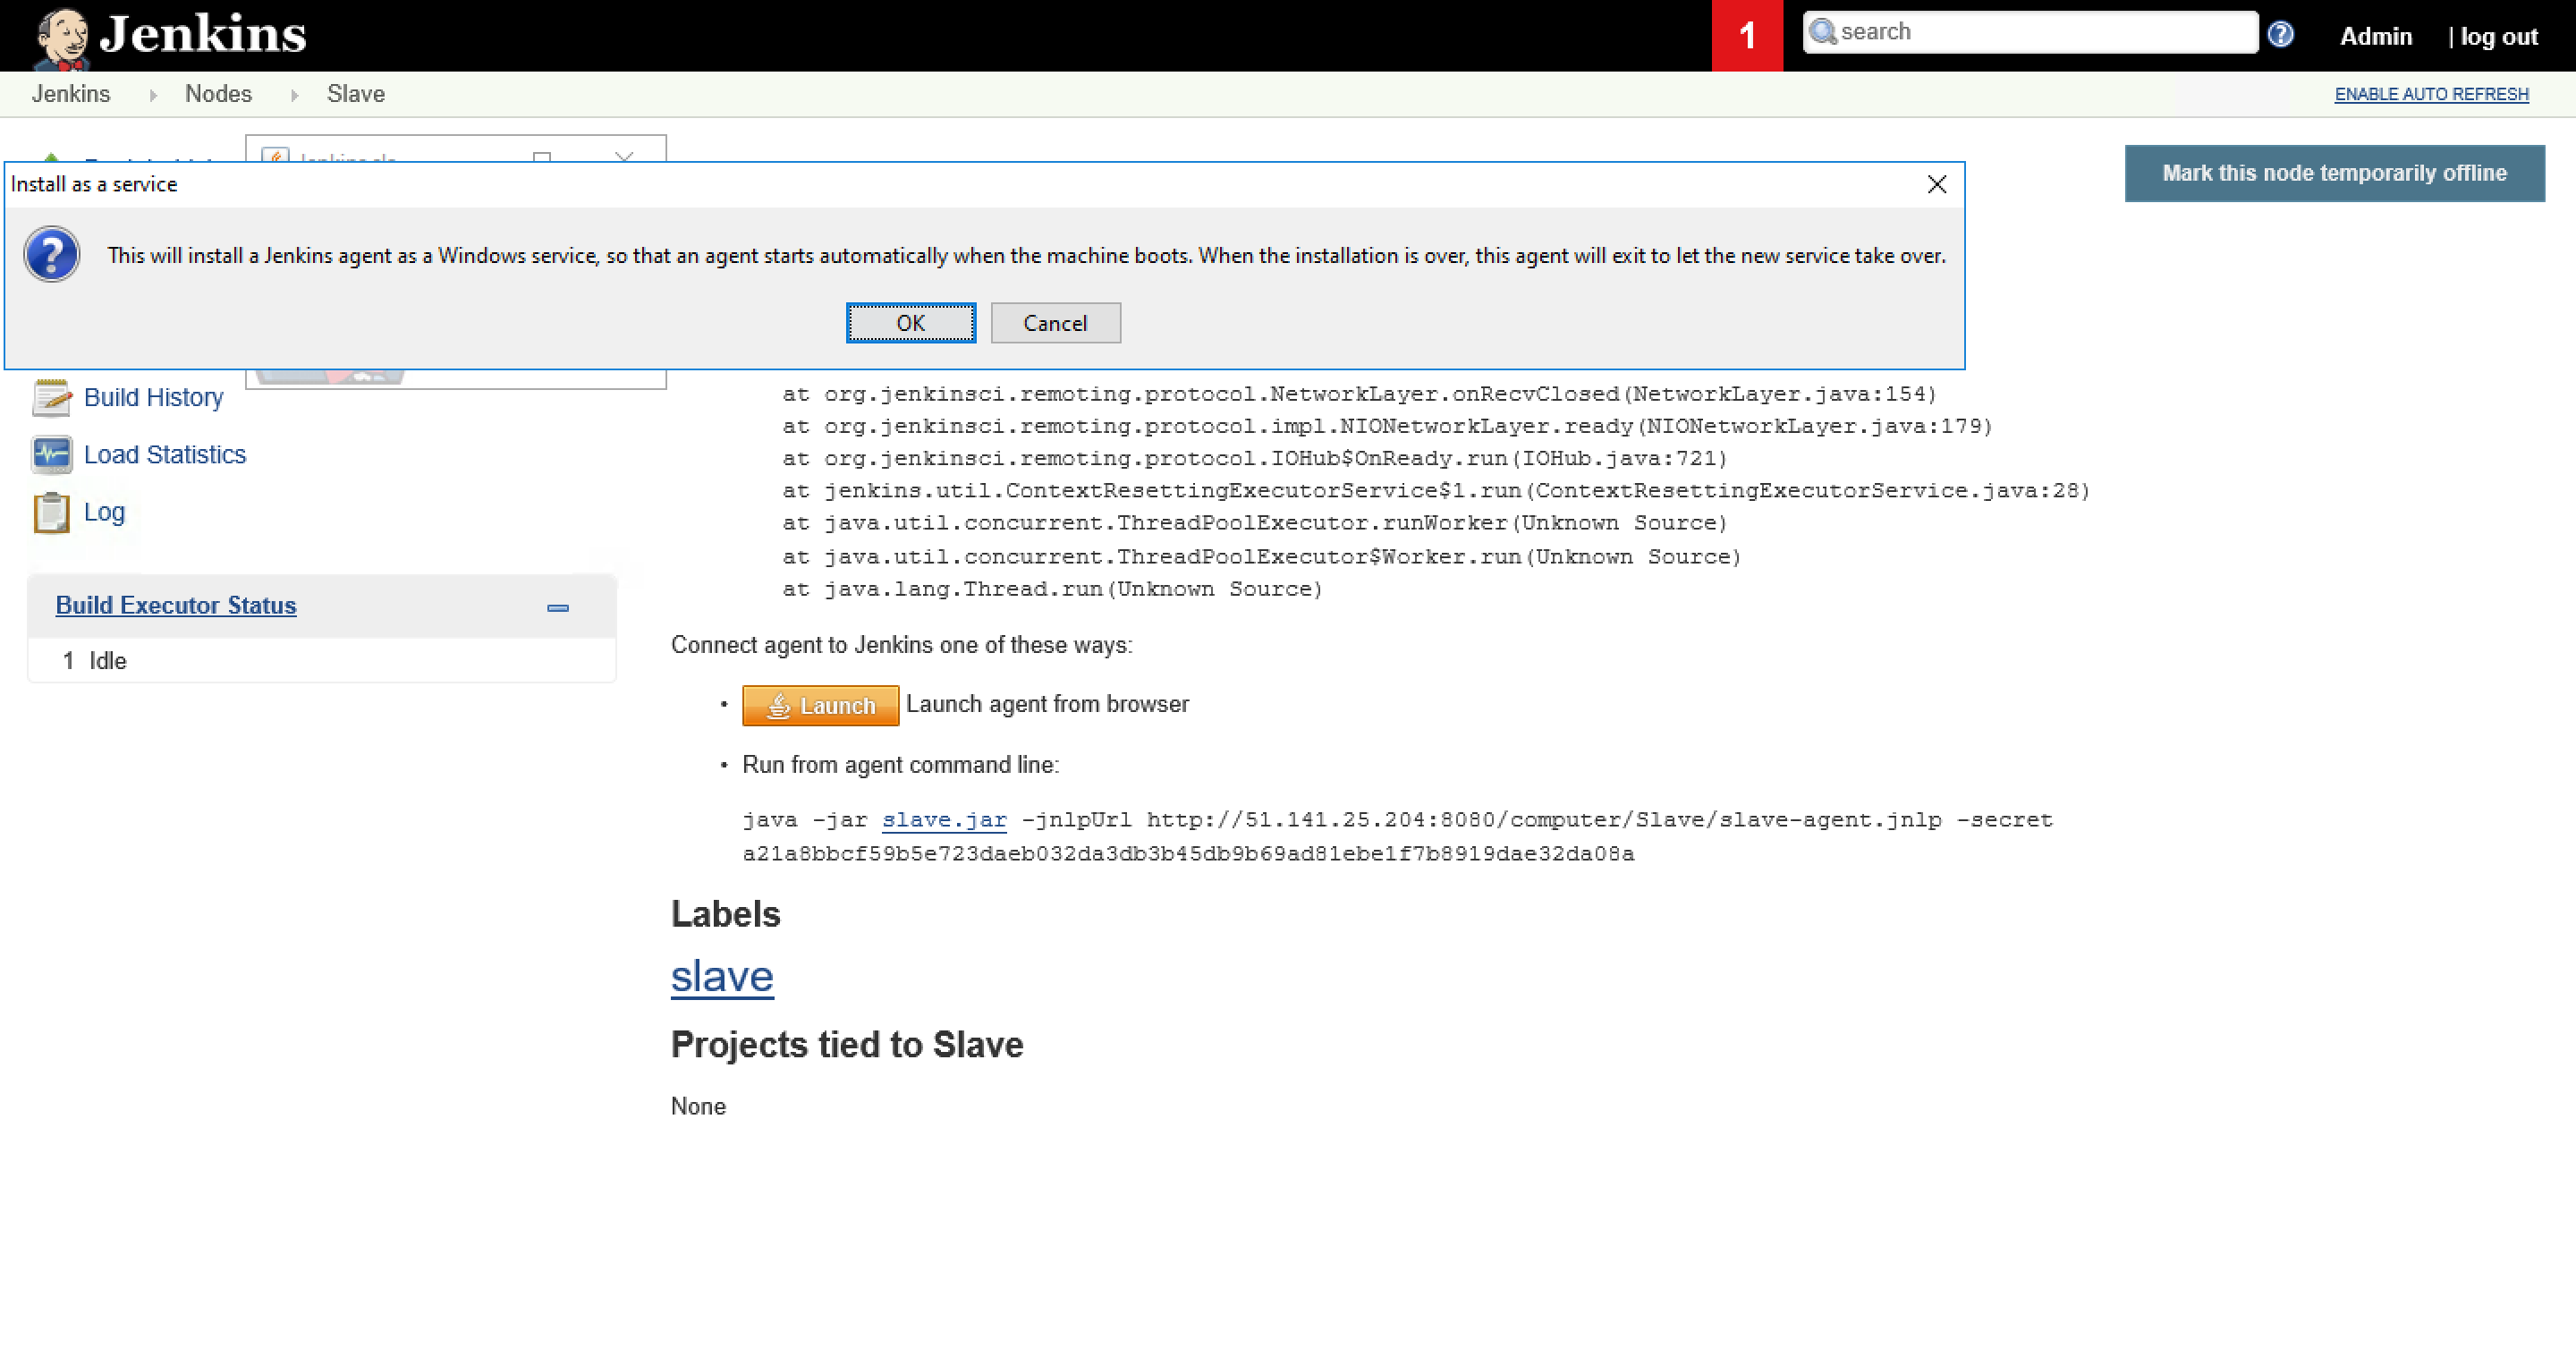
17- Click on OK

eighteen- Become to Windows Settings then check the Windows Services
xix- You can run across the Jenkins Windows Slave is successfully configured and running (If not, then Start the Service)

20- Go back to your Jenkins Slave Page, and now y'all will meet that Amanuensis is Successfully Running and ready to build your project
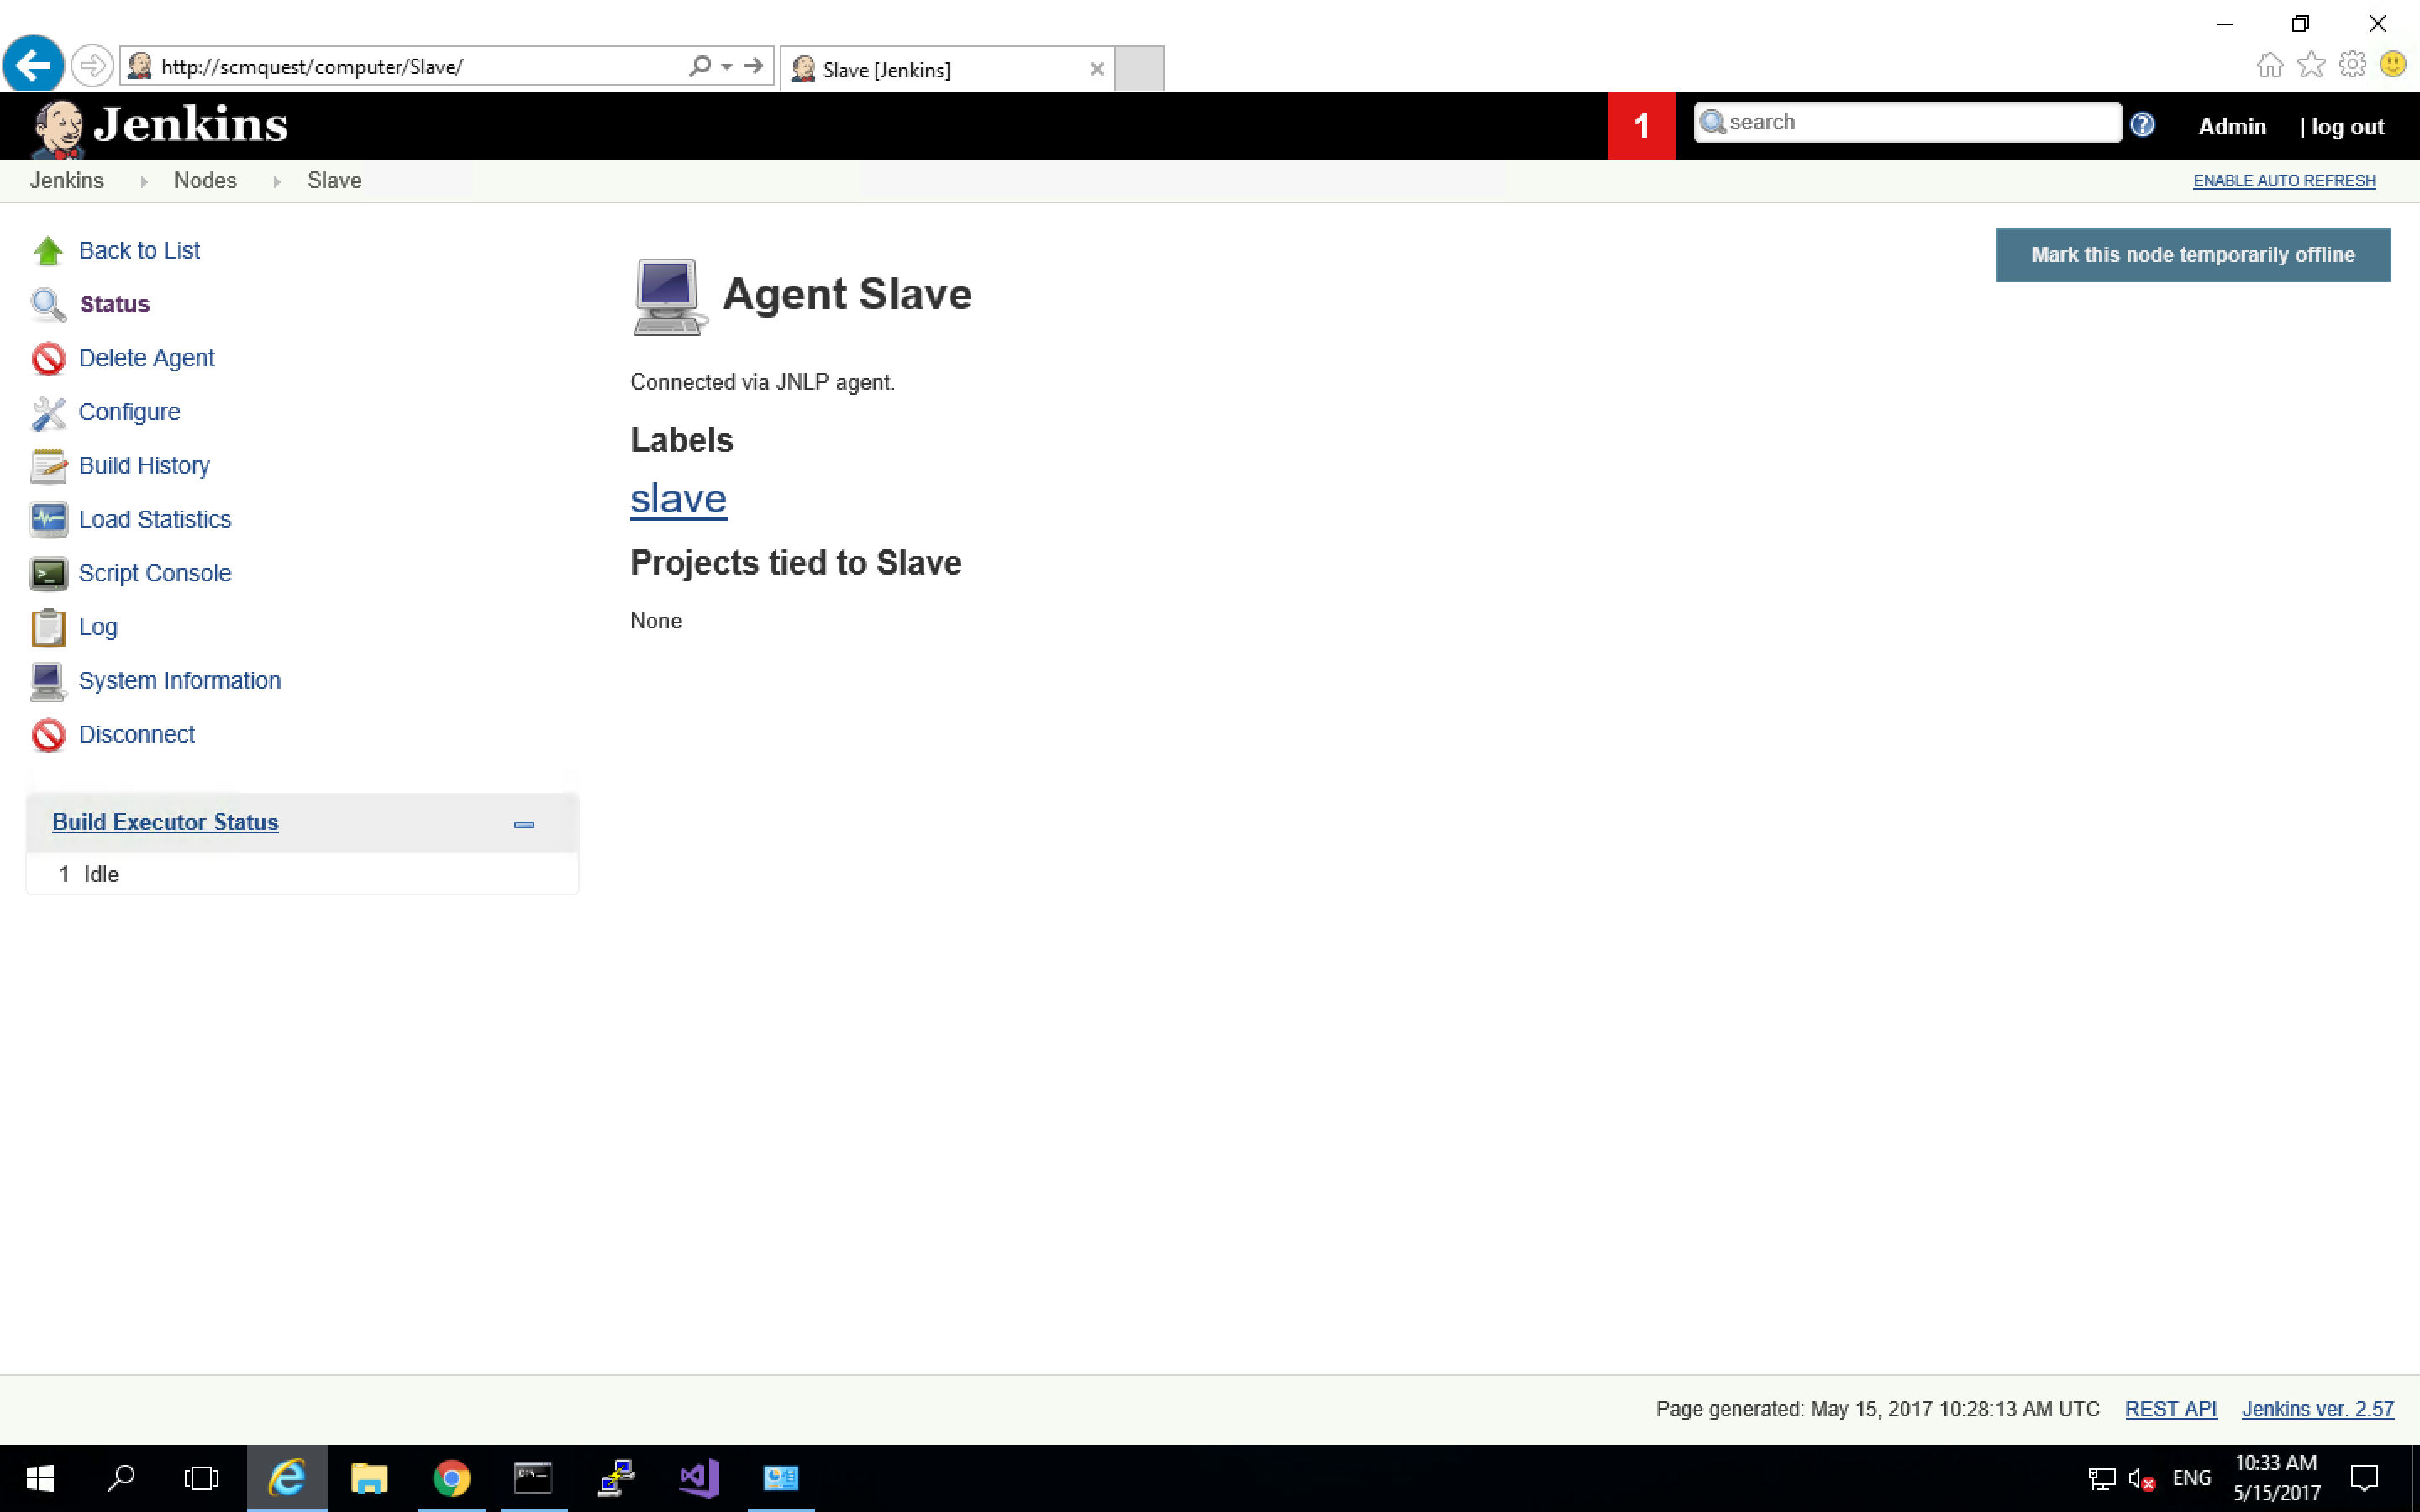
That's it. You lot take successfully configured the Jenkins Slave on Windows Machine and installed it as a Windows Service.

How To Install Jnlp As Local Service,
Source: https://devopsbuzz.com/jenkins-windows-slave-configuration-with-screenshots/
Posted by: santeevortunfir.blogspot.com
0 Response to "How To Install Jnlp As Local Service"
Post a Comment